
Photoshop is a crucial skill for every photographer. It is easy for outsiders to think of photoshopping as cheating since photoshopping has this bad rap in common culture, especially with social media shareable discussing the many instances where edited photographs often make things look unrealistic.
But every photographer worth their expensive camera lenses knows that’s not all there is to photo editing. It is a way of transcending limits and constraints of the scene to reach and depict the beauty the photographer truly saw in the scene.
It’s not impossible to get clear shots, perfect combinations and just the right balance in color, tints and hues, but it is pretty darn difficult. Photoshop is a neat way to get things just right and make every snap a masterpiece. But learning those skills can be pretty hard.
Well to be fair, photoshopping isn’t hard. It just takes time, and a whole lot of hit and trial. A good camera helps, of course.
But regardless of how crazy expensive your camera is, you can photoshop pictures from everyday cameras like on your mobile and gets the ball rolling.
Wondering where to begin? We have 5 Photoshop skills you can try out in the beginning. The details will get clearer with more and more experimentation, and you can branch out to more techniques and skills gradually to learn more.
Regardless, you’ll be able to better your pictures with just these 5 photoshop skills mastered.
Photoshop Skill Number 1: Spot Healing
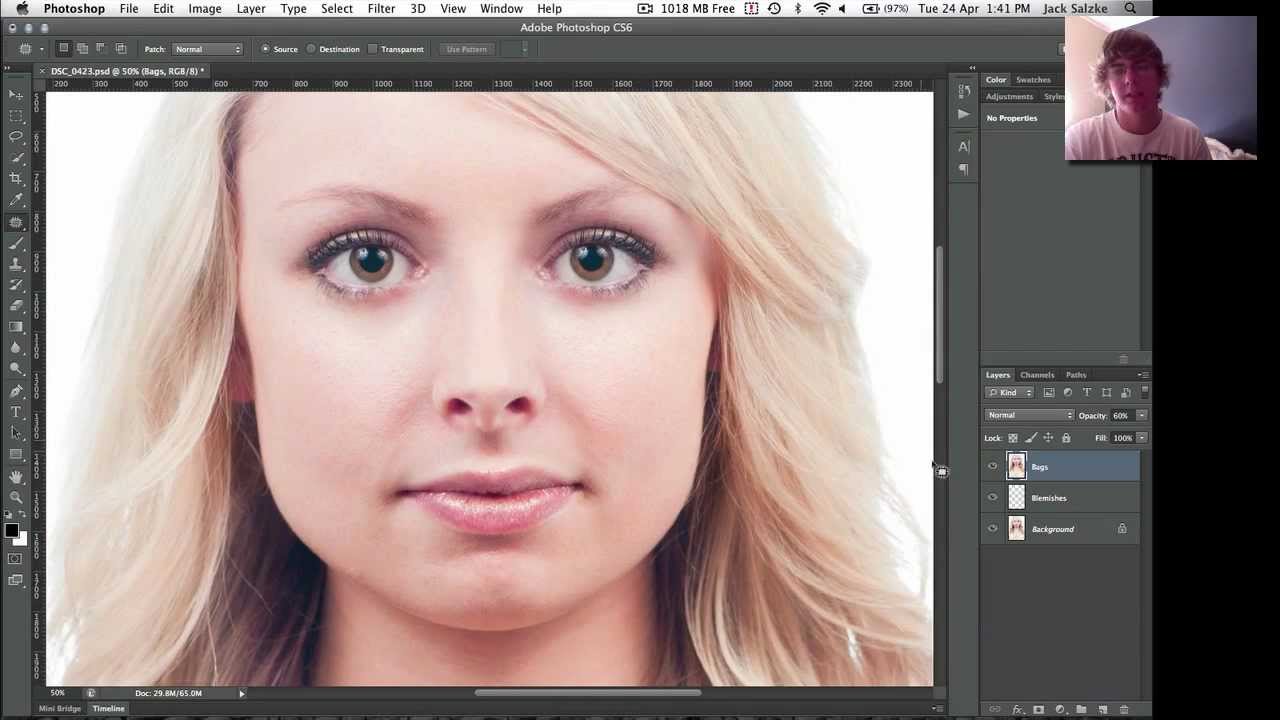
Have you ever had your finger come in front of the camera in an otherwise amazing shot? Or maybe you clicked a really intense portrait or a selfie only to discover a blemish.
All of that can be corrected easily using the Spot Healing technique.
To be fair, it is not really a skill as much as a brush you can easily access by pressing J on your keyboard.
The brush has a “content aware” option that means the corrections applied will be according to the stuff surrounding the area you’re treating with the option. It’s a good idea to keep it on. You can experiment with it off later.
Once you have selected the Spot Healing brush, adjust its size using the square bracket keys. You want to make it a convenient size so that it is easy to brush out just the object you want to get rid of without hurting the objects around it. It takes a few tries, but you’ll get it eventually. Simply remove your finger from the clicked button after brushing the object and watch it magically disappear.
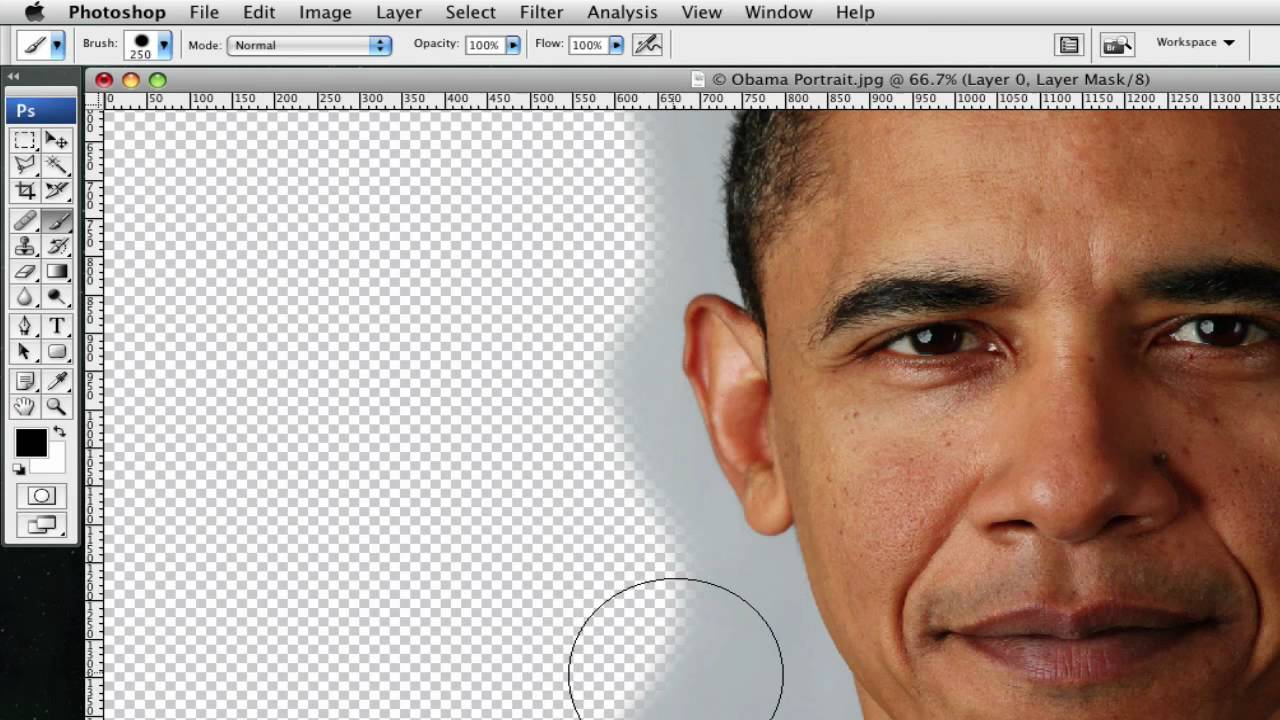
Photoshop Skill Number 2: Making things disappear
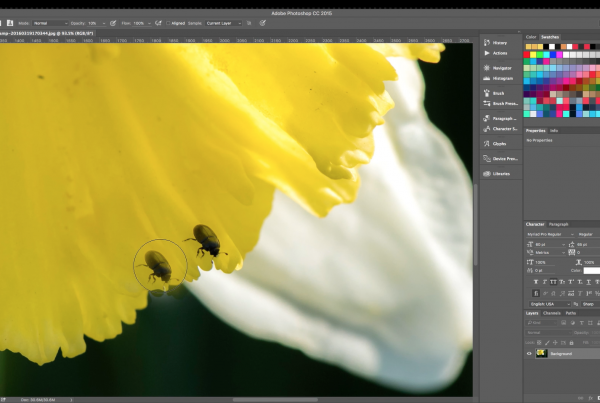
Ever click a naturescape in the mountains only to notice a few ugly cars in the background marring the beauty? I have this problem every time I go to the beach to take advantage of the bright natural light (on perfect days, you can even give your reflectors a day off!).
It’s just too hard to click a naturescape or a portrait of a wind-bent tree that doesn’t have a beach goer casually sitting in the frame, or an ugly restaurant sign killing the pristine vibe. Luckily, there is a way to make those objects disappear.
Of course, one way to go about it is to use Spot Healing like we talked about in the previous skill.
But you’ll find the tool doesn’t do a very good job when the object you’re trying to remove occupies more than a few pixels. This is where you can use a different skill.
The Patch tool lets you pick up a patch from the photo you’re trying to edit, and you can place that patch over the rest of the photo, effectively making things disappear.
If you’re worried about jarred edges, don’t. The tool fills in gaps and adjusts the color and tone to a reasonable extent.
Ever seen those funny photoshopped pictures on social media? This is one way to make them. Just letting you know.
Photoshop Skill Number 3: Proper Cropping
If you’re a novice, you’ve probably heard high-browed haughty dismissals of your pictures from the less worse crowd (they’re not better than you, they’ve just learned a little bit more about things).
One common dismissal is over composition. And yet, nobody seems to be willing to explain what exactly it is.
Well there are several ways you can compose your pictures. And it need not be taken care of only when you’re clicking the photo.
There are rules of composition called the center rule, the rule of thirds, and the much dreaded golden ratio. Here is a little about them.
- Portraits of people usually work great if you have them at the centre of the frame. This is called the centre rule. It need not apply only for people either. The line dividing the frame into half, both horizontally and vertically can be a cite of drama because this region naturally attracts the viewer’s attention. Clicking a photo of some bath toys floating in a tub of water? Try keeping the water meniscus perfectly between the frame. Any significant straight line or a point of attention lying on these lines can look pretty salient. Double points if you can manage both lines together.
- Instead of dividing the frame into halves, divide it into thirds. This gives you the rule of thirds. Don’t worry, many cameras have the blueprint in the viewfinder or in the display. Even Instagram has it. Like before, having an important point lie on or around these 4 points of intersection can get you a pretty intense image. Ditto for lines. This is a good rule to take to when you’re trying to click an object with its surroundings. For example, if you’re clicking a businessman in their conference room, you’ll probably find a good composition locating the edge of their coat or the contour of their arm on one line and letting the room occupy the rest, in or out of focus as you please.
- The golden ratio looks a lot like the rule of thirds but it is a bit difficult to explain how we arrive at it. You get 4 spirals, each with their own center, and these 4 centers and these spirals when spotted with an object or followed by a curve in the photo catch the viewer’s eye. Trace these to get a great photo composition. It’s a bit difficult to trace the curves, and that’s where after-shoot editing can help you.
Photoshop Skill Number 4: Non destructive editing
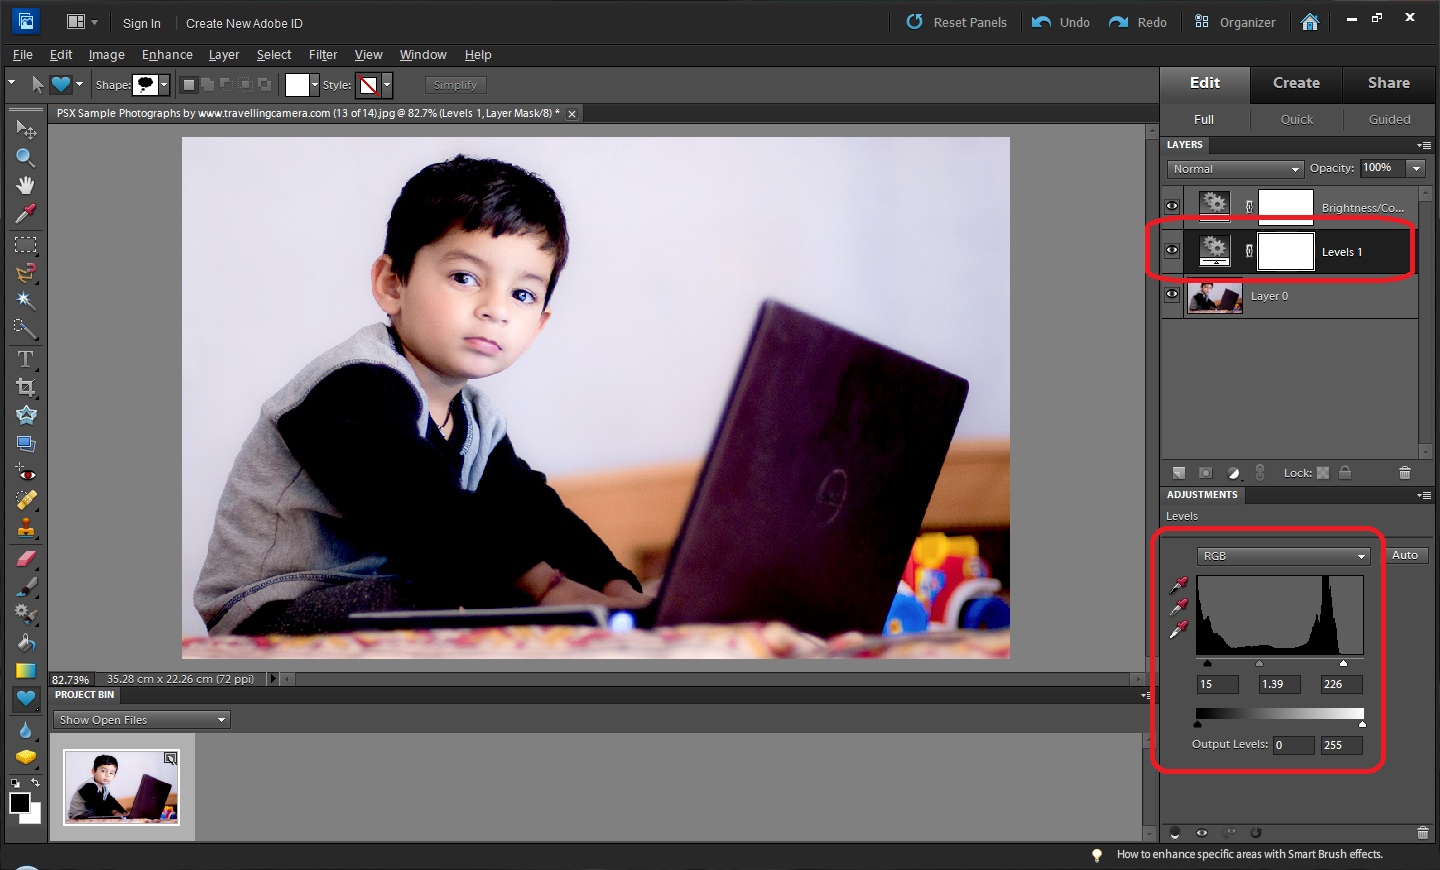
Photoshop is a software that does destructive editing. What this means is that the filters, effects and edits you make on the photo cannot be reversed.
Or at least, that’s what the situation was in the previous versions. The latest Photoshop software does offer layers to apply edits through, but if you have an older version of Photoshop, it is best to make several copies of your original and store them in case you spoil the picture.
You can also substitute Photoshop with other photo editing apps that allow non-destructive editing. Lightroom and Snapseed are two great examples you can try out.
Photoshop Skill Number 5: B&W-ing
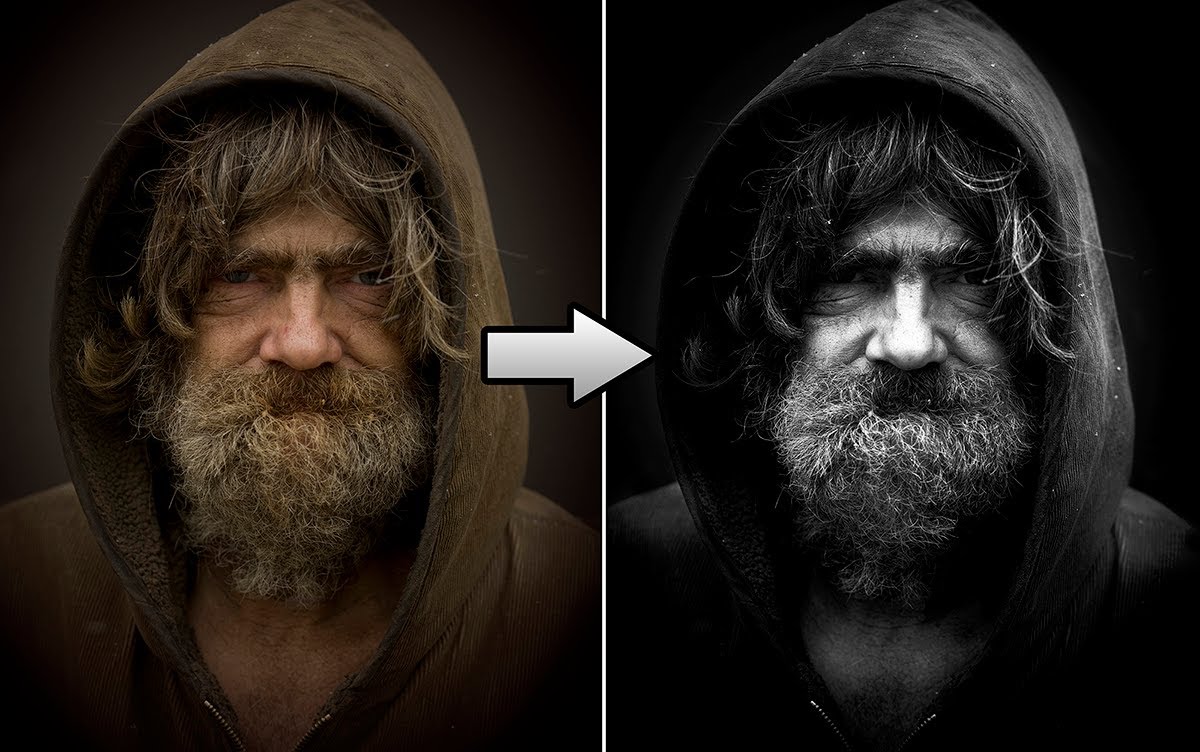
You’ve probably seen a few great photos on the internet which have no color and are yet so vivid and eye catching. A lot of it is passed as being merely an effect of good lighting, but there is more you can do than just choose a black and white filter on the picture and hope for the best. Here are a few ideas.
- After you’ve turned the photo black and white, experiment with other filters over the image. There are no colors in the picture anymore, so your filters will be only about the light and the ambience those filters bring. It is a great idea to apply these filters and effects in layers, and try pulling one or two out. Just a healthy amount of hit and trial.
- There are some amazing apps that let you edit your pictures and apply a ton of filters. Using multiple apps or software is not a crime. I for example edit my photo in Snapseed first, and especially look forward to the Ambience effects. Once I’ve maximized the beauty of the picture through it, I only fine tune with Photoshop. It can be a good way to try B&W effects this way since Snapseed is non-destructive.
- You need not drive the B&W filter to the maximum limit. Leaving a slight tinge of color on the picture can bring a lot of liveliness. It’s not cheating, many professional photographers as well as film editors and other creative people use this tiny trick to enhance how the photo looks and feels.
There is so much Photoshop can do that it can be daunting to even begin experimenting with the myriad features. Begin with these 5 basic skills, and with a little experimenting each time, you’ll have taught yourself the complete load of features the software has.
image credit: Google