
Interior rendering is an effective way to showcase the intricate designs of infrastructure. 3D Visualization allows interior designers to show their visions for their projects. However, this can also prove a difficult task. You need to focus on countless details, which requires much effort and attention.
That’s why we’ll list some of the essential things you must remember to make out the most of your 3D interior visualization.
The 3D Rendering Process
Let’s do a brief review of the visualization process:
Learn the Client’s Vision
As a 3D artist, you need to understand the project. Study the sketches, plans, and references images given by the client. Use them to visualize.
3D Modeling
Use specialized 3D modeling software to start working on the digital model. You can try Cyberfox from https://cyber-fox.net/. Build the structure of the building digitally.
Texture and Materials Application
Apply images on the 3D model you created to make them look realistic. Glue photos on different materials, adjust the roughness of the surfaces and configure other parameters to achieve a realistic look.
Lighting
Set up the lights to create 3D scenes that make the place like the real world. This works similarly to how photographers set up lighting before a shoot starts.
Render
Render your finished project to produce 2D images of scenes you developed in the previous steps. This can take from hours to days, depending on the complexity and quality of your model.
10 Tips for 3D Visualization
1. Design Based on Reference
It’s essential always to have a reference point for the materials and scenes you use. It’s beneficial to avoid overlooking important features in the objects in the model. You can also use the reference to study the textures and material type used in a specific object.
2. Pay Attention to Camera Elevation and Angles
Shoot scenes from an optimal height and angle. Your capture should show some floor and ceiling. Get to a balanced position to make it look natural. Use pitch adjustment to show a little more detail from everything in the scene.
3. Utilize Textures and Materials
To create realistic designs, you must pay attention to texture. Most 3D modeling software packges have their own libraries for textures and materials, so make use of them. People should easily be able to tell what the materials will feel like when touched just by looking at your design.
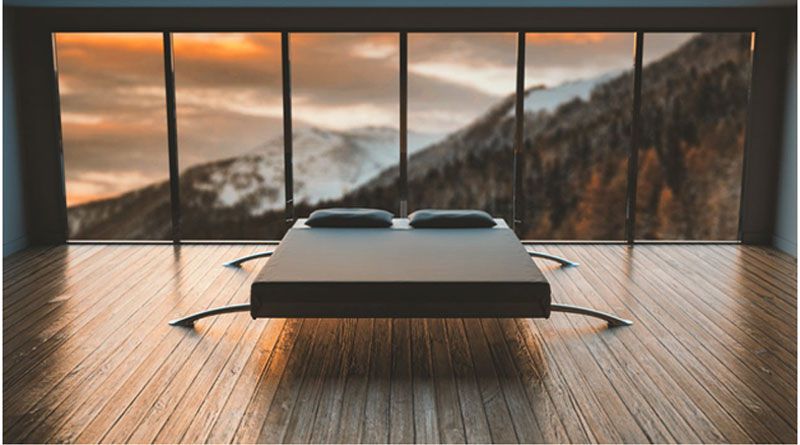
4. Lighting to Elevate Design
Lighting is crucial in design. It will increase the visibility of the textures and materials and set the mood for the scenes. You can use any suitable light, but the best option is to use natural light. However, study lighting in real-life. Pay attention to reflections.
5. Shadowing
You’ll always have different shadows on your design, and they won’t all be the same as each other. Play around with shadows to add more depth to your work. Make some lighter, some darker. This way, you can draw more attention to specific places.
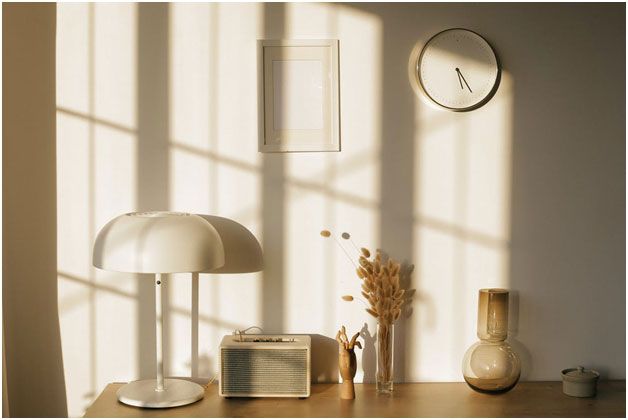
6. Don’t Forget Decorations
Practicality isn’t the only important thing when designing. You have to make your designed space look livable since it should represent real-life areas. Add beautiful decor appropriate to the room. For example, add flower vases and picture frames in the living room. This will help your client visualize the new place they’ll have.
7. Add the Human Touch
Add people to your model and design to help your clients visualize themselves there. You can use your client’s photos or use someone from your files. Ensure that they’ll look like they belong at the place. Be sure to take notice of the shadows they cast and their reflections.
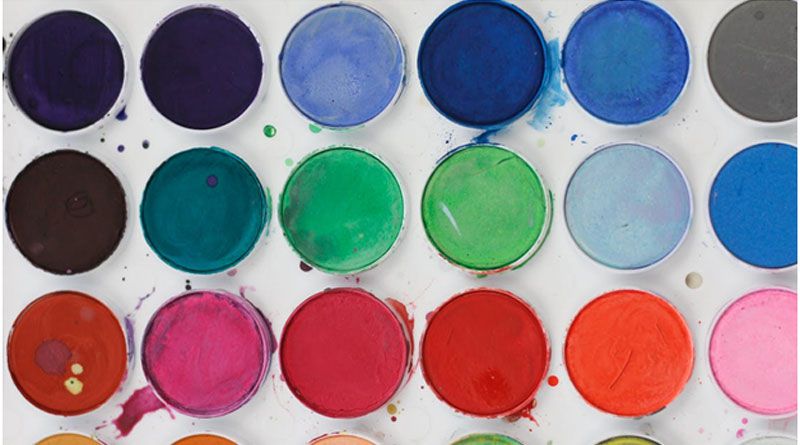
8. Choose Good Color Palette
The color of things in your design will either make the place stand out or not. Choose the best color palette to create a more realistic space. It’s best to stick to natural material hues. This may also depend on your client’s preferences.
9. Imperfect Render
Don’t try to make things picture-perfect. Nothing in real life is perfect. In 3D Visualization, realism is better than perfection. Perfect shapes or textures will make things look more artificial than real. You can add extra cracks or creases on things, faded colors on the staircase or the rug, anything to make it look authentic.
10. Scaling and Sizing
If you use the wrong size, it won’t matter if your lighting, shadowing, textures, and materials are properly done. Ensure that everything is proportional to properly represent the objects in real life. It will be very obvious if something is too small or too big.
Conclusion
3D Visualization will be more challenging if you miss out on important details in your design. It’s best to learn all the tips you can get and practice them. There might be some things you’re overlooking if you’re having a hard time. Remember that nothing is perfect, so practicing each tip is key.